There was no post this Wednesday because I was too busy celebrating my one-year anniversary with my boyfriend. To properly celebrate, I cooked his favorite dish from my Russian culture (which is not exactly known for its vegetarian selections). If you've read my post about cookbooks , you know that I'm against stringent recipes. So I'm bringing this dish to you with some tweaks, tips and ongoing commentary to make you feel at ease with preparing this somewhat-intimidating Russian version of pancakes.
A little intro - Russian pancakes, or блины (blini) are somewhere between American pancakes and French crepes. You can eat them unfurled with jam/honey/syrup of choice or rolled up with savory filling. My favorite fillings are mashed potato and mushrooms, but you can literally fill them with anything you'd like - fake meat, sauteed veggies, cheese, rice and beans (a bold choice), or fruit chunks.
We start with the ingredients. You will definitely need flour and eggs. Milk will make them heartier, but you can substitute water for milk (use less). Baking soda will make the dough a little more porous. A bit of salt and/or sugar can be added for a fuller taste. You can experiment with adding any spice, but don't overdo it - a pinch will do. You will also need a bit of oil or butter to grease the pan. Here are the ingredients I used.

1/2 cup flour
2 cups milk (if using water, stick to about 1.5 cups)
2 eggs (not pictured because they wouldn't sit still)
Pinch of sugar, salt and baking soda
Cooking oil spray
Here are the basic steps for creating blinis:
1. Start with eggs and whisk them into oblivion
2. Add all other ingredients, whisking all the way. Unless you have a sifting apparatus, you will have some flour lumps in your mixture. Do your best to get rid of them and make the mixture as smooth as possible. There's really no need to use a food processor or a blender, as it is fairly easy to do by hand.
2a. A lot of people freak out about how thin the batter is. No, you are not doing anything wrong. The batter is freakishly thin. That's how we get thin pancakes you can wrap up into little rolls.
3. Grease your pan. A cast iron pan, with its even heat, will produce the best blinis around, but you can really use any pan. You know your pans, so pick the one that sticks least of all.
3a. Put your pan on medium heat. High heat will burn your blinis, and low heat will take forever. Play around with the fire on your first few tries, but once you find that perfect spot, you won't need to change it for the duration of cooking.
4. Use a ladle to transfer about 1/2 cup of batter to the middle of a well-heated pan.

5. Now comes the waiting. You can use this time to catch up on the news, play some phone games, or fit in some spontaneous kitchen exercise. You'll be able to tell that it's time to flip the pancake when the top doesn't look liquid and the bottom is easily lifted up with a spatula. If you see bubbles (as pictured), don't freak out. If your shape isn't round (as pictured), you can pass the time trying to divine your fortune from the shape.

6. Flip the pancake! The done part should look less pale, more brown. Below left is an example of being flipped too soon, below right is an example of flipping at the right time. If you were too hasty, there's nothing to worry about, you can flip it back and forth as much as you'd like.


7. Keep going. You'll run out of batter sooner or later, and then you will have a sizable stack of deliciousness.

You can eat it like this, or you can fill them up. To add filling:
1. Prepare said filling. Saute up some mushrooms with onion. Mash some potatoes. Add spices/herbs to your filling. I like adding pickled jalapeno slices and cilantro to mashed potatoes. You can come up with your own signature flavor by surveying what you have in your fridge.


2. Place a tablespoon of filling in the middle of your pancake.

3. Roll it up, fold in the ends, and flip it onto the serving plate (any nice big plate will do).


4. Arrange your blinis in an appetizing manner and garnish with something pretty that complements the filling.
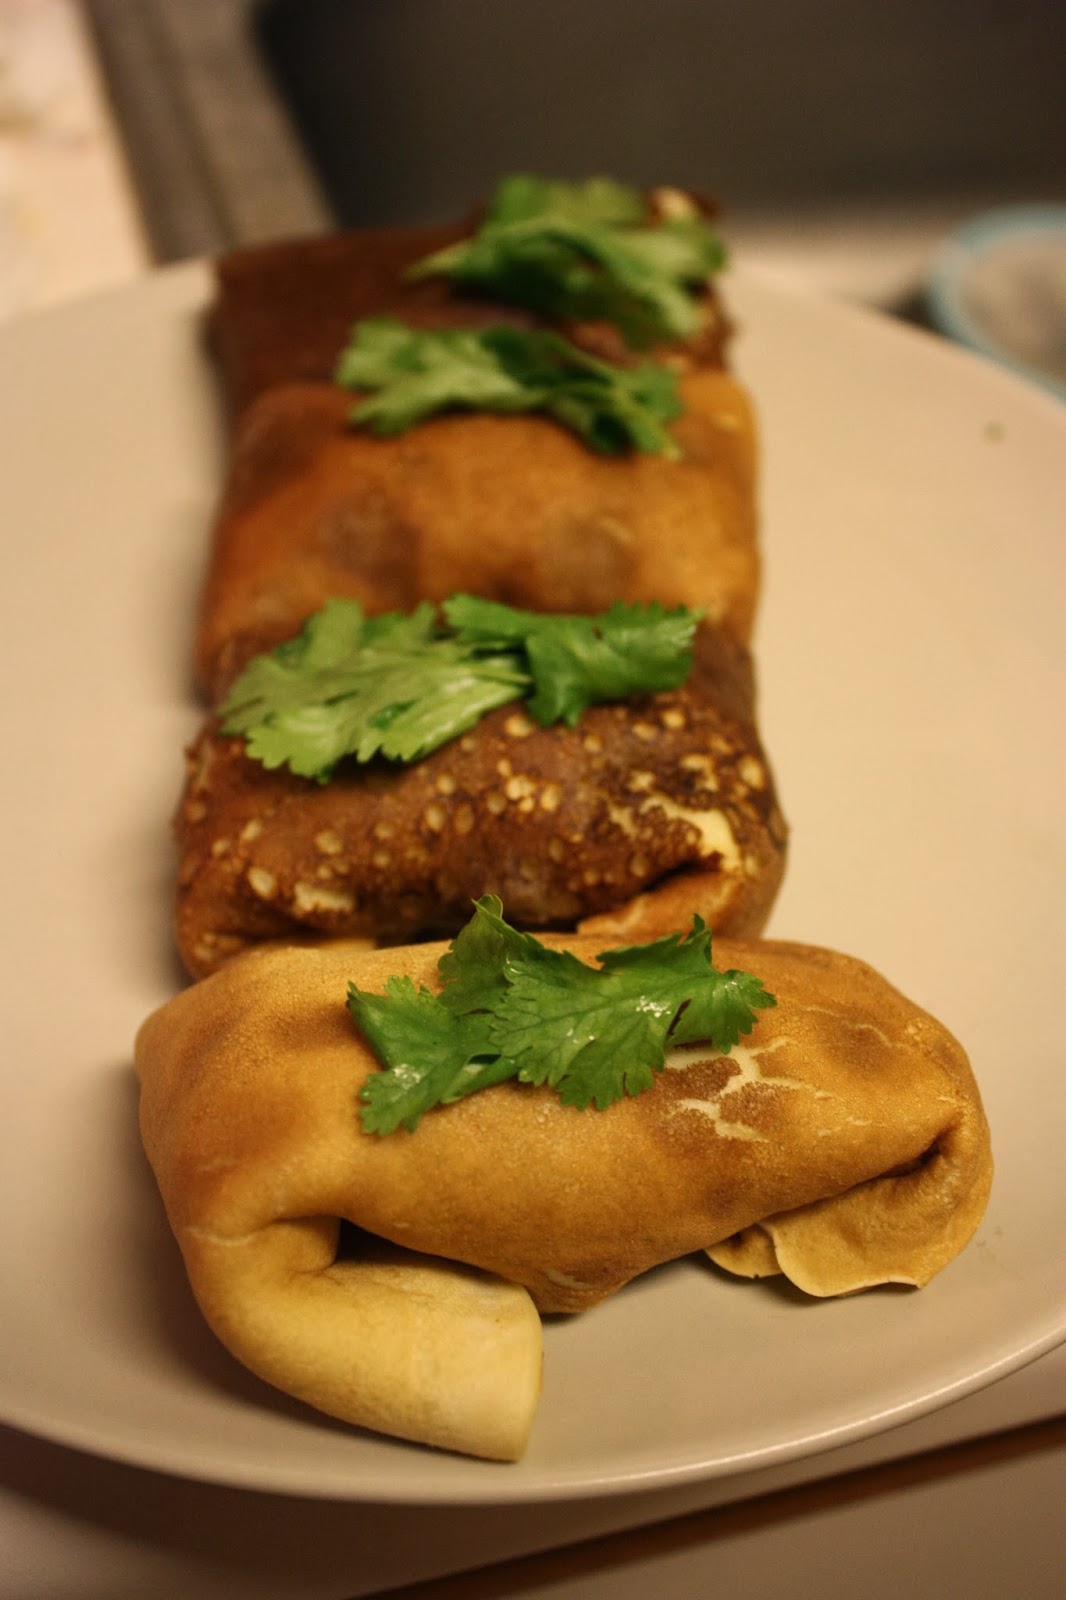
You are done! Enjoy the blini and try not to wonder about the caloric content. :)
A little intro - Russian pancakes, or блины (blini) are somewhere between American pancakes and French crepes. You can eat them unfurled with jam/honey/syrup of choice or rolled up with savory filling. My favorite fillings are mashed potato and mushrooms, but you can literally fill them with anything you'd like - fake meat, sauteed veggies, cheese, rice and beans (a bold choice), or fruit chunks.
We start with the ingredients. You will definitely need flour and eggs. Milk will make them heartier, but you can substitute water for milk (use less). Baking soda will make the dough a little more porous. A bit of salt and/or sugar can be added for a fuller taste. You can experiment with adding any spice, but don't overdo it - a pinch will do. You will also need a bit of oil or butter to grease the pan. Here are the ingredients I used.
1/2 cup flour
2 cups milk (if using water, stick to about 1.5 cups)
2 eggs (not pictured because they wouldn't sit still)
Pinch of sugar, salt and baking soda
Cooking oil spray
Here are the basic steps for creating blinis:
1. Start with eggs and whisk them into oblivion
2. Add all other ingredients, whisking all the way. Unless you have a sifting apparatus, you will have some flour lumps in your mixture. Do your best to get rid of them and make the mixture as smooth as possible. There's really no need to use a food processor or a blender, as it is fairly easy to do by hand.
2a. A lot of people freak out about how thin the batter is. No, you are not doing anything wrong. The batter is freakishly thin. That's how we get thin pancakes you can wrap up into little rolls.
3. Grease your pan. A cast iron pan, with its even heat, will produce the best blinis around, but you can really use any pan. You know your pans, so pick the one that sticks least of all.
3a. Put your pan on medium heat. High heat will burn your blinis, and low heat will take forever. Play around with the fire on your first few tries, but once you find that perfect spot, you won't need to change it for the duration of cooking.
4. Use a ladle to transfer about 1/2 cup of batter to the middle of a well-heated pan.
5. Now comes the waiting. You can use this time to catch up on the news, play some phone games, or fit in some spontaneous kitchen exercise. You'll be able to tell that it's time to flip the pancake when the top doesn't look liquid and the bottom is easily lifted up with a spatula. If you see bubbles (as pictured), don't freak out. If your shape isn't round (as pictured), you can pass the time trying to divine your fortune from the shape.
6. Flip the pancake! The done part should look less pale, more brown. Below left is an example of being flipped too soon, below right is an example of flipping at the right time. If you were too hasty, there's nothing to worry about, you can flip it back and forth as much as you'd like.
7. Keep going. You'll run out of batter sooner or later, and then you will have a sizable stack of deliciousness.
You can eat it like this, or you can fill them up. To add filling:
1. Prepare said filling. Saute up some mushrooms with onion. Mash some potatoes. Add spices/herbs to your filling. I like adding pickled jalapeno slices and cilantro to mashed potatoes. You can come up with your own signature flavor by surveying what you have in your fridge.
2. Place a tablespoon of filling in the middle of your pancake.
3. Roll it up, fold in the ends, and flip it onto the serving plate (any nice big plate will do).
4. Arrange your blinis in an appetizing manner and garnish with something pretty that complements the filling.
You are done! Enjoy the blini and try not to wonder about the caloric content. :)

1 comments:
https://vk.com/photo320229960_378728329
Post a Comment